Multilevel lists
Multilevel lists are used to number and label headings and sub‐headings automatically. If headings are inserted or removed, the Multilevel list is automatically adjusted so that the numbering and labelling remains sequential.
Using Multilevel lists is recommended rather than manually numbering or labelling each chapter heading and subheading. They make use of the hierarchy of heading styles and apply numbering consistent with the way that the heading styles have been set up within the document.
See the Styles section of the guide, if the document hasn't been set up using the Heading styles before proceeding with these steps.
Steps - creating a level 1 heading
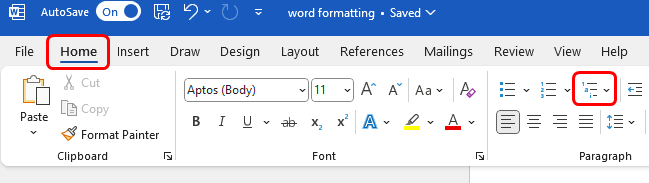
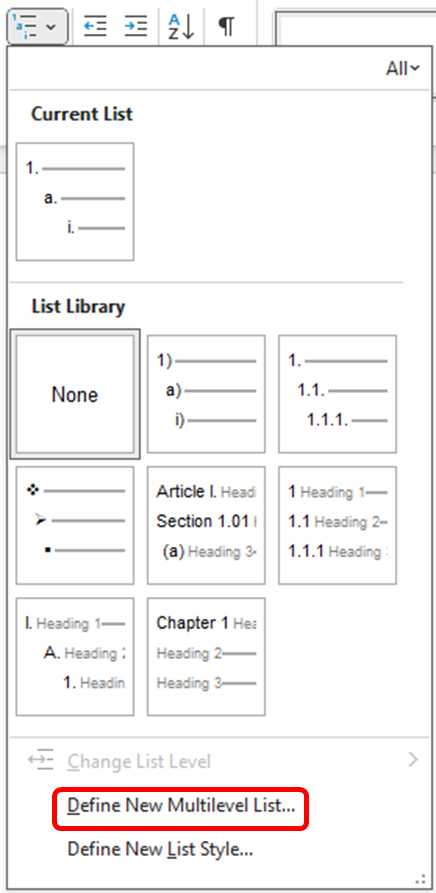
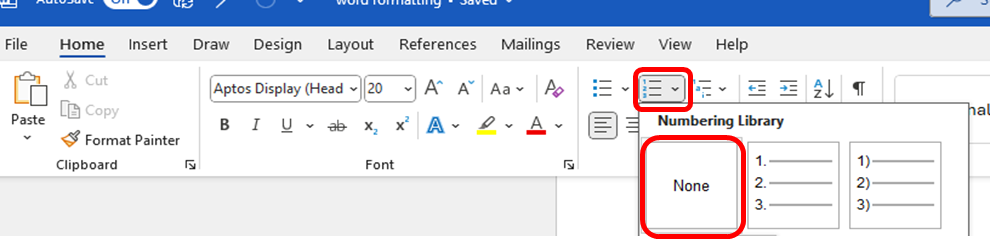
Set up the Multilevel list by clicking the Multilevel List icon from the Home tab and selecting Define New Multilevel List
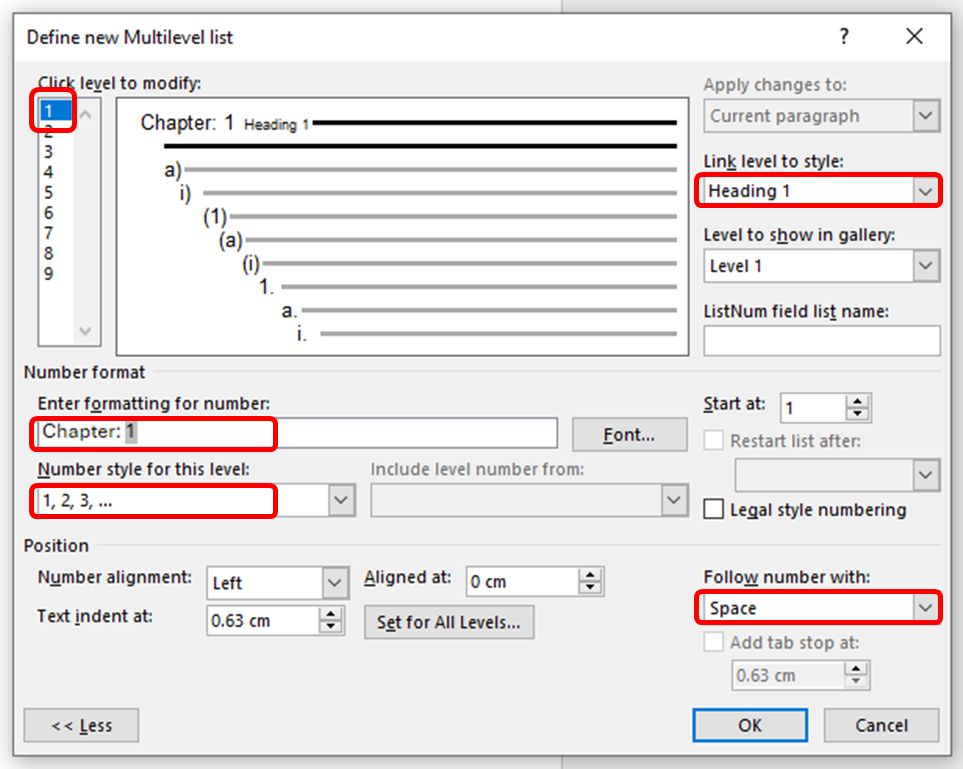
- Within the Define new Multilevel list screen, start with level 1
(click 1 in the Click level to modify list). - Click the More>> button at the bottom left of the screen (if you see <<Less, skip this step).
- Remove all text from the Enter formatting for number field.
- Type 'Chapter', followed by a space, into the Enter formatting for number field.
- From the Number style from this level drop down, select 1,2,3...
The number '1' will appear in the Enter formatting for number field. - Type a colon and space after this number.
- From the Link level to style drop down (on the right), select Heading 1.
- On the bottom right, from the Follow number with drop down, select Space.
- Click the OK button.
Anywhere that Heading 1 has been used in the document, should now be numbered sequentially:
![]()
To remove labeling and/or numbering from any heading where you don't want this applied, select the heading and click the Numbering icon to turn the numbering off (e.g. acknowledgements in the front matter).
Steps - creating a level 2 heading
In the same way you would create a level 1 heading, select Define New Multilevel list, from the Multilevel list icon. Select this even if you are editing a list that has already been created.
If Heading 2 is not in your style gallery, instructions about finding it can be found in the Styles section of the guide.
Note: These steps don't always work the first time. Go back into Define New Multilevel List, re-enter the changes and try again if needed
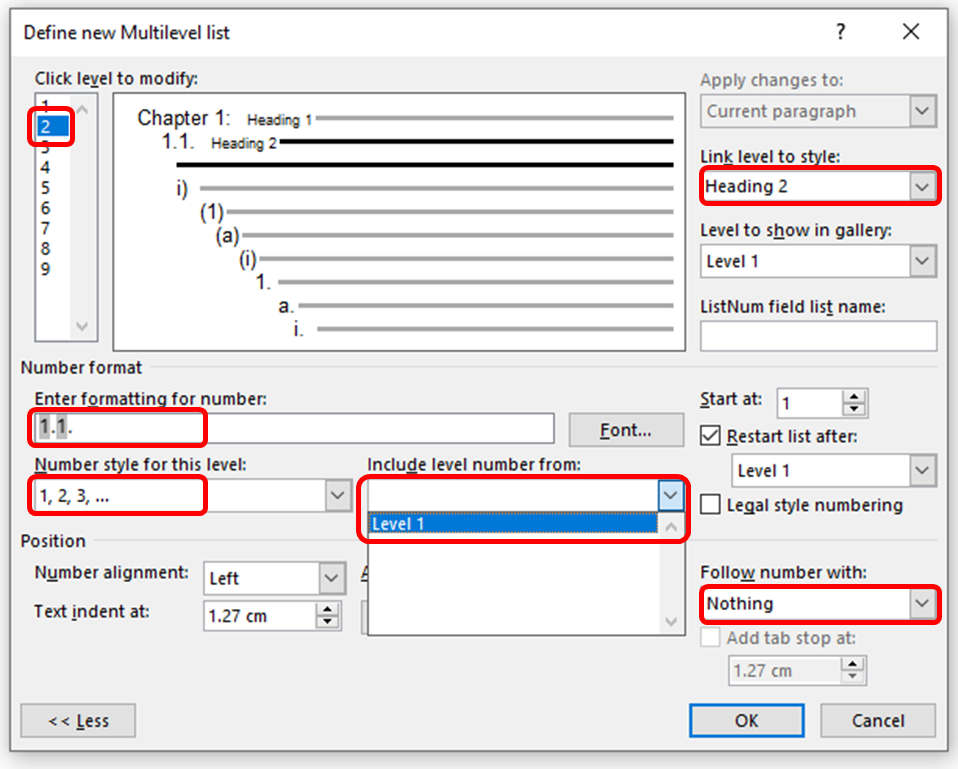
- Within the Define New Multilevel list screen, select level 2 to modify
(click 2 in the Click level to modify list). - Click the More >> button at the bottom left of the screen (if you see <<Less, skip this step).
- Remove all text from the Enter formatting for number field.
- From the include level number from drop down, select Level 1.
- The number '1' will appear in the Enter formatting for number field. Type a full stop after this number.
- From the Number style for this level drop-down, select 1,2,3.... You could also select another style such as A,B,C... This is the sequential numbers (or letters) that appear for each sub-heading.
- The number '1' will appear again in the Enter formatting for number field. Type a full stop after this number and a space. There should now be '1.1. ' in the field.
- From the Link level to style drop-down (on the right), select Heading 2.
- On the bottom right, from the Follow number with drop down, select Nothing.
- Click the OK button.
These steps can be repeated, to add formatting to additional levels of the list, and can be done for up to 9 levels.
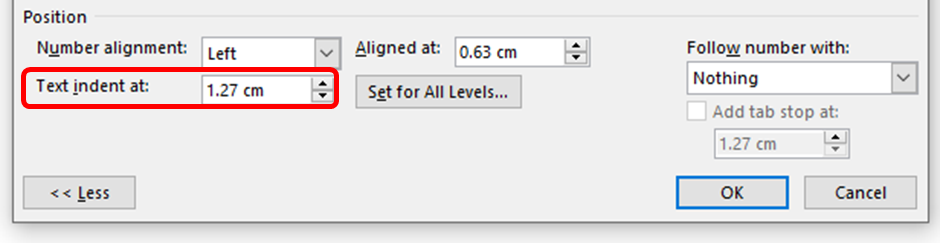
Editing text position
To set or change (increase or decrease) the indentation of the text:
This can be done by adjusting the Multilevel list.
- From the Home tab, select Define new Multilevel list from the Multilevel list icon.
- In the Position section of the Multilevel list screen, adjust the indentation using the 'Text indent at' field.
- Click the OK button.